この章ではセルの中にグラフを入れる方法について説明します。
セルの中にグラフを入れる機能は「挿入」タブの中の「スーパークライン」グループの以下の箇所にあります。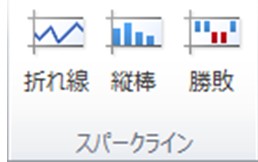 初めにグラフを挿入したいセルをクリックしてください。
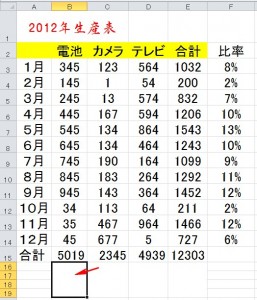 次に以下の「折れ線」をクリックしてください。
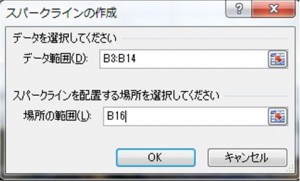
 「折れ線」をクリックしますと次のダイアログボックスが開きますので、グラフにしたい「データ範囲」とグラフを設置する場所である「場所の範囲」を入力します。
 結果は「折れ線」を選択しましたので、次のようになります。
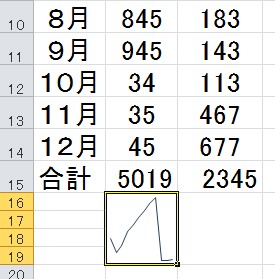 後はオートフィル機能を使ってE16までドラッグしてください。
結果は次のようになります。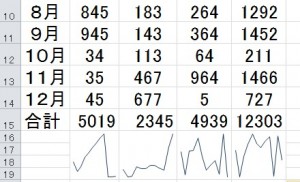 折れ線グラフを削除したい場合にはグラフの上で右クリックしますと次のメニューが開きますので、「スーパークライン」にカーソルを合わせます。
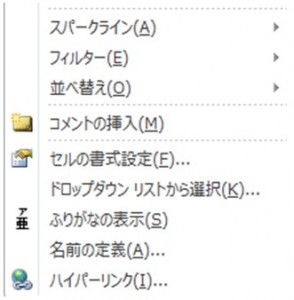 カーソルを合わせますと次のメニューが開きますので「選択したスーパークラインのクリア」をクリックします。
これで折れ線グラフは削除できます。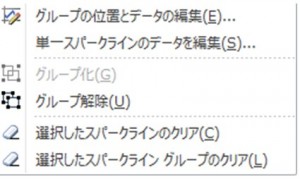
セルの中にグラフを入れよう
URL :
TRACKBACK URL :
Warning: Undefined variable $aria_req in /home/a11926240/wordexcelpowerpoint1.com/public_html/wp-content/themes/dp-elplano/comments.php on line 139
Warning: Undefined variable $aria_req in /home/a11926240/wordexcelpowerpoint1.com/public_html/wp-content/themes/dp-elplano/comments.php on line 141
Warning: Undefined variable $post_id in /home/a11926240/wordexcelpowerpoint1.com/public_html/wp-content/themes/dp-elplano/comments.php on line 149
Warning: Undefined variable $post_id in /home/a11926240/wordexcelpowerpoint1.com/public_html/wp-content/themes/dp-elplano/comments.php on line 150
Warning: Undefined variable $post_id in /home/a11926240/wordexcelpowerpoint1.com/public_html/wp-content/themes/dp-elplano/comments.php on line 161
LEAVE A REPLY